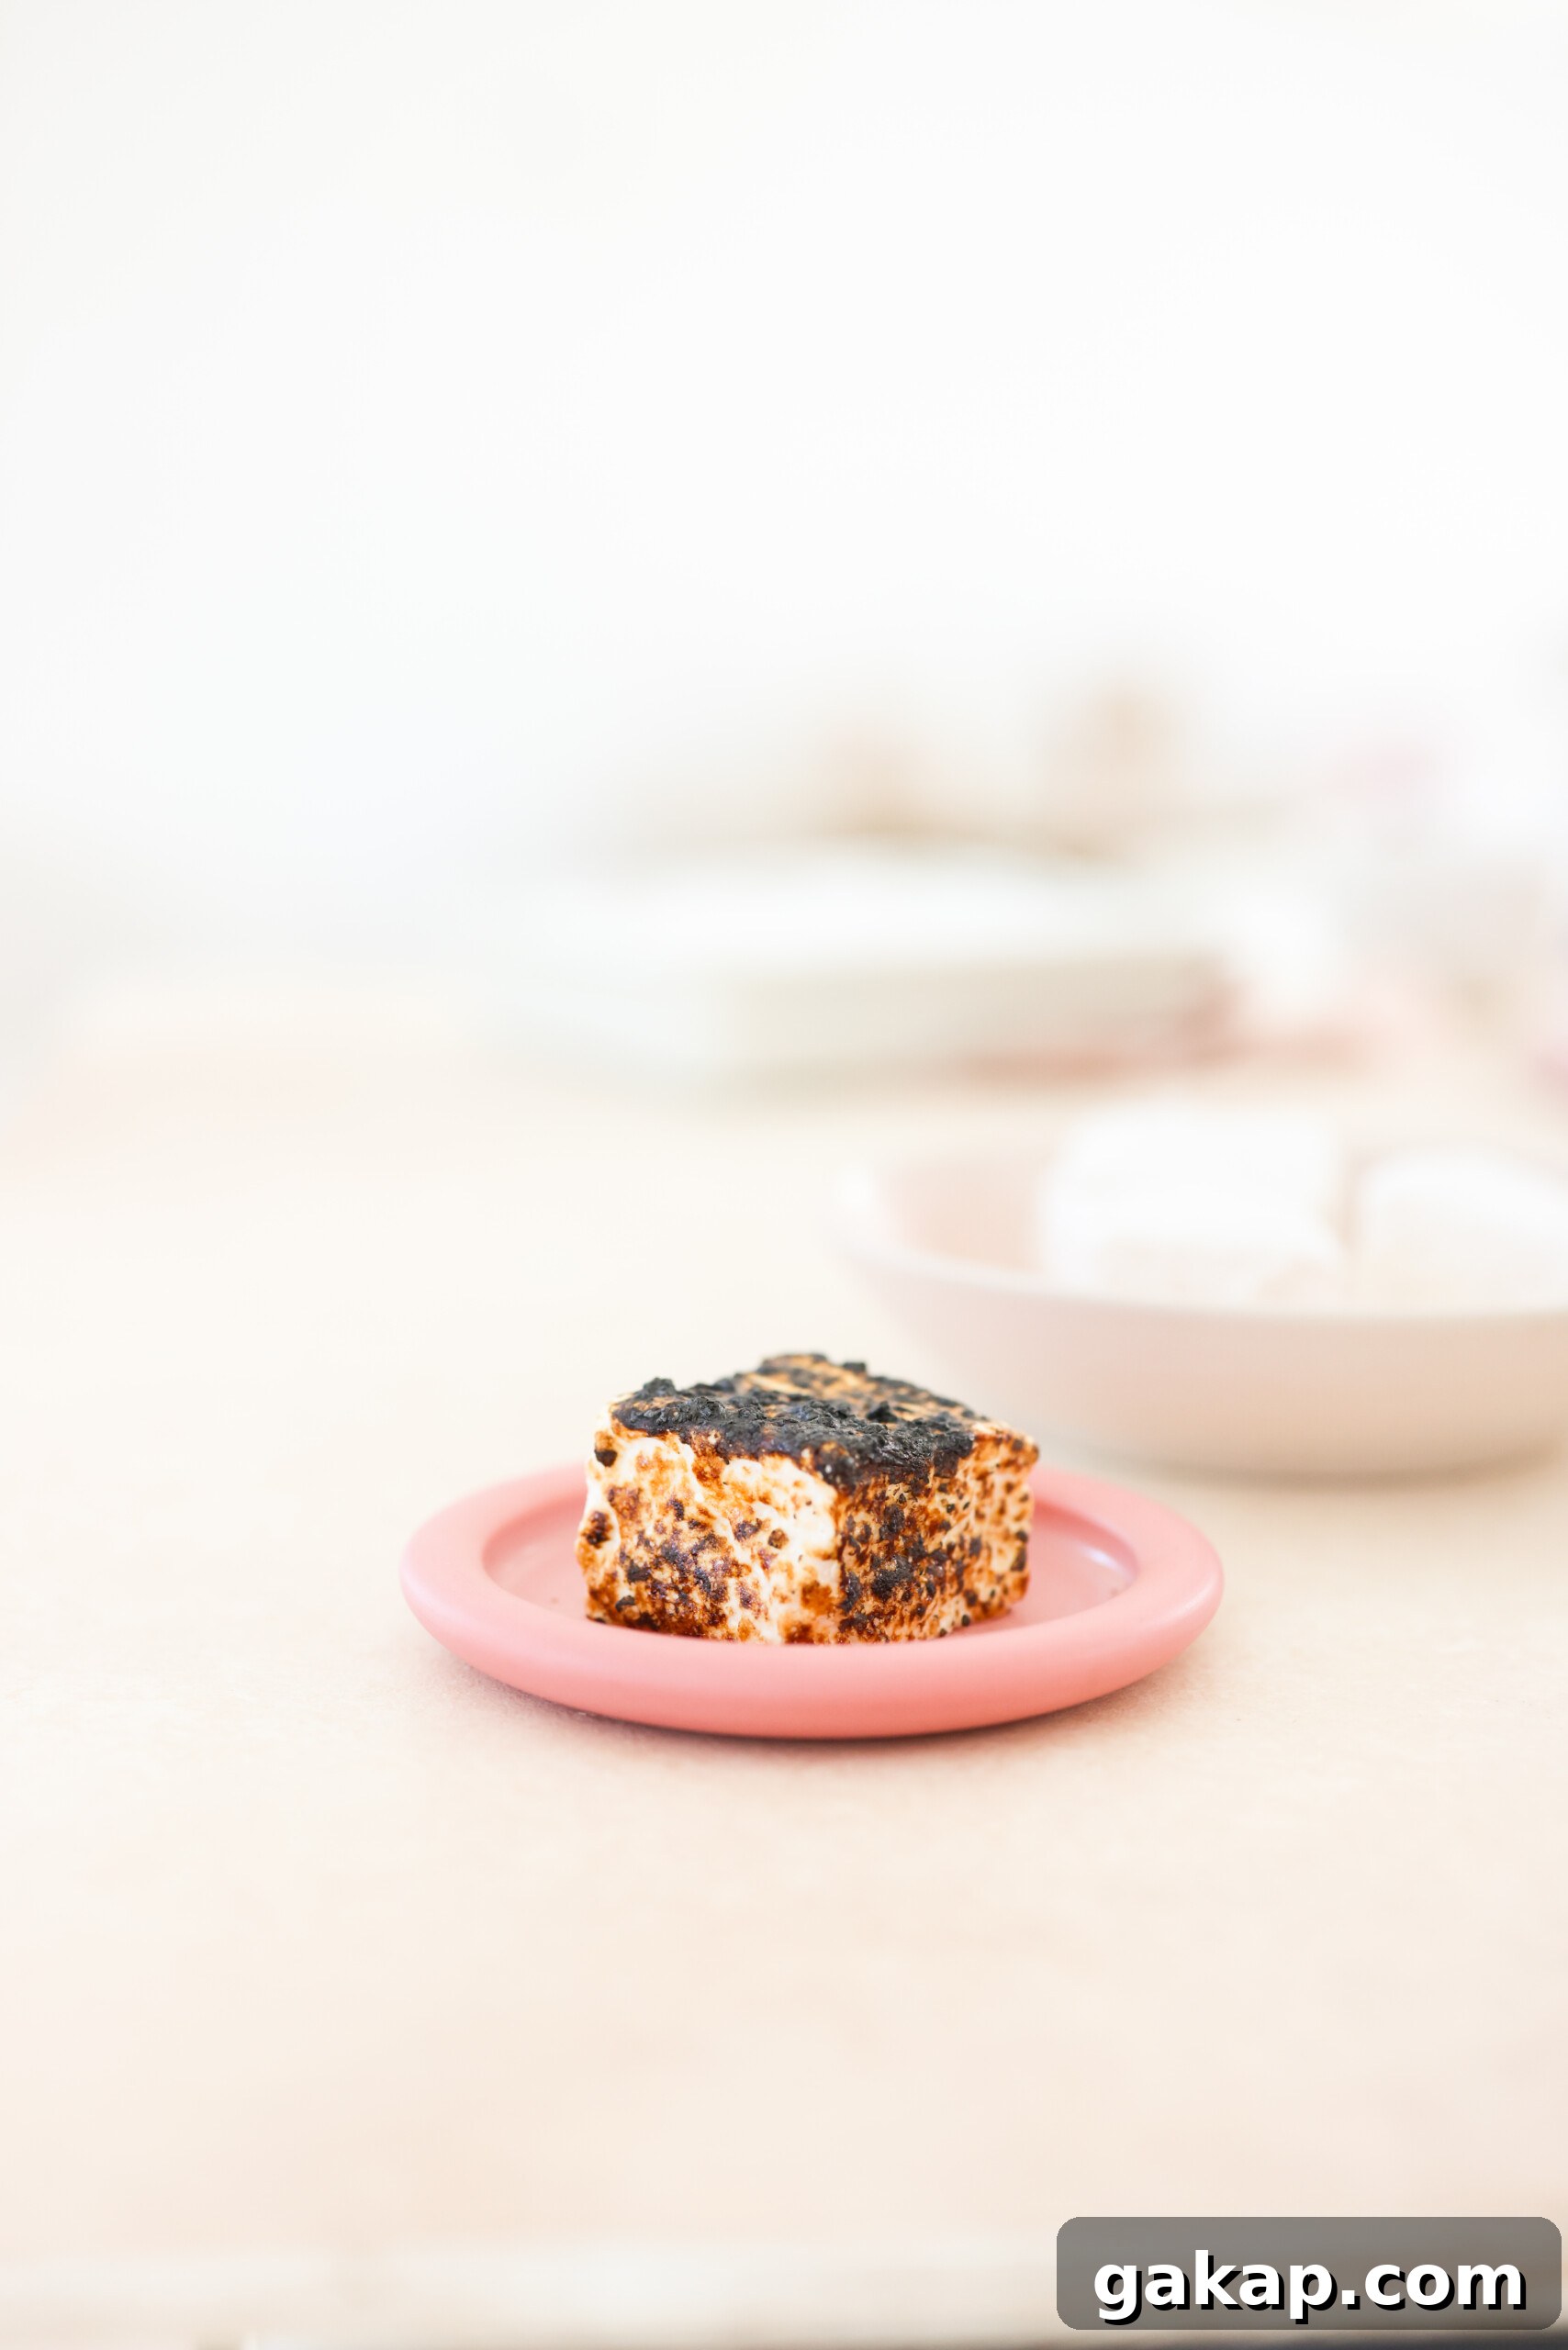
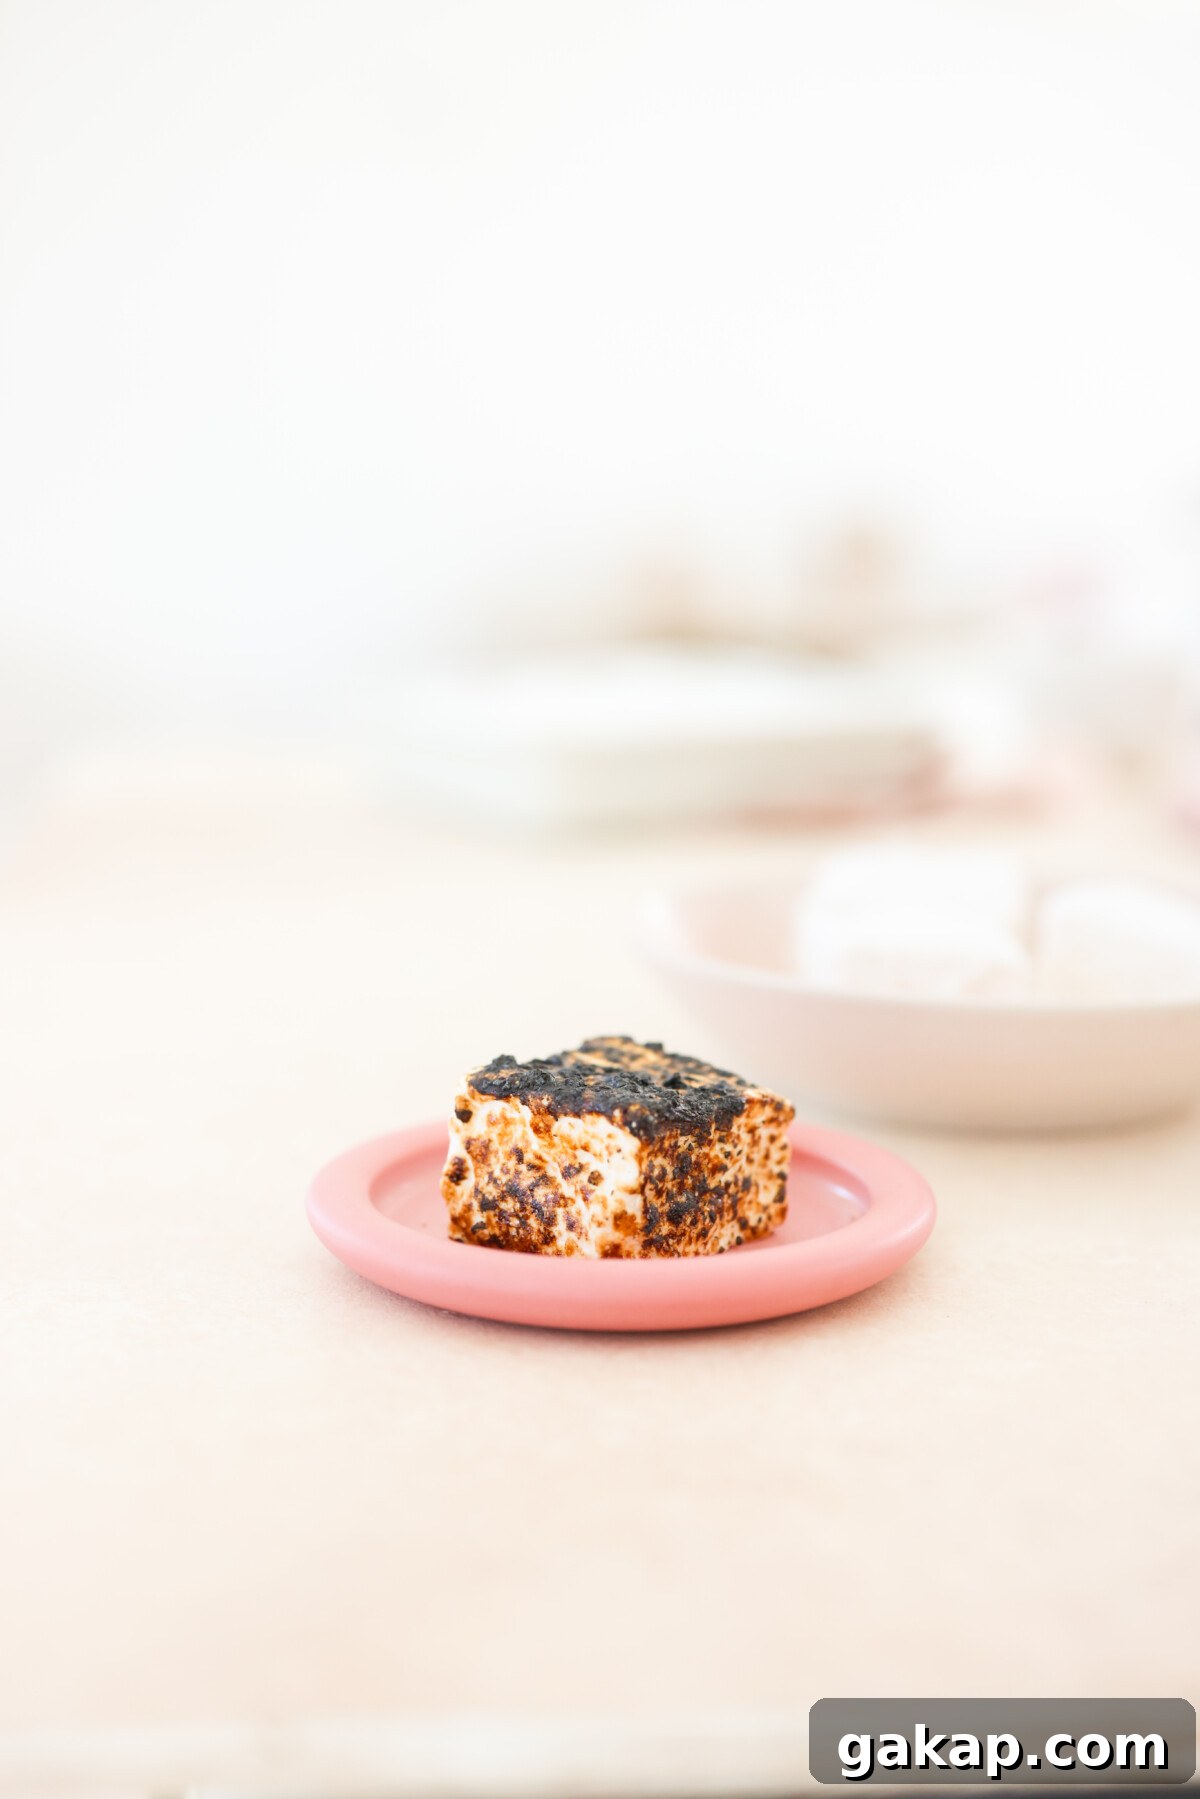
These dairy-free, gluten-free vegan marshmallows are light, pillowy, and easy to make at home. They work perfectly for roasting, topping hot chocolate, folding into desserts, or using in any recipe that calls for marshmallows.
What Makes This Recipe Great
Commercial vegan marshmallows can be hard to find and often come with limited flavor options. Making your own at home gives you fresh, soft marshmallows that are customizable and reliable. This recipe produces marshmallows that mimic the texture and flavor of traditional marshmallows while using plant-based alternatives for gelatin and stabilizers. Use them in s’mores, hot chocolate, rice krispie treats, or any dessert that benefits from a fluffy, sweet addition.
Ingredient Notes
Base Whip
- versa whip 600K — a whipping aid/stabilizer used to create structure
- vegan gelatin — plant-based gelling agent to set the marshmallows
- ice cold filtered water — keeps the base mixture cool for better whipping
Hot Ingredients
- filtered water — for the syrup
- granulated sugar — main sweetener and structure for the syrup
- corn syrup — prevents crystallization and keeps marshmallows tender
- salt — balances sweetness
- vanilla bean paste or vanilla extract — for flavor
Dusting Sugar
- confectioner’s sugar (powdered sugar)
- arrowroot starch or cornstarch — prevents sticking
Equipment
- heavy-bottomed saucepan
- 9×9 baking dish
- candy thermometer — for accurate syrup temperature
- stand mixer with whisk attachment
- plastic wrap or parchment for lining
- sharp knife or unflavored dental floss — for cutting
Step-by-Step Instructions
- Line a 9×9 baking dish with plastic wrap or parchment and lightly grease the surface so the marshmallows release easily.
- Sift the confectioner’s sugar and arrowroot (or cornstarch) together in a bowl. Reserve about half the mixture to coat the pan and the remaining half for dusting the finished marshmallows.
- Combine the water, granulated sugar, corn syrup, and salt in a heavy-bottomed saucepan. Add the vanilla. Heat over medium, stirring until the sugar dissolves, then stop stirring and bring the syrup to a low boil. Use a candy thermometer and cook until the syrup reaches 240°F (soft-ball stage).
- While the syrup heats, pour the ice-cold filtered water into the bowl of a stand mixer. Start whipping on high and add the versa whip and vegan gelatin while whipping. Continue on medium-high until the mixture forms stiff peaks, similar to a meringue.
- Once the syrup reaches 240°F and the whipped base has stiff peaks, reduce the mixer to low and slowly drizzle the hot syrup into the whip in a steady stream. After incorporating all the syrup, increase the speed and whip the mixture until it becomes very thick and glossy and has increased in volume, about 4–6 minutes.
- Quickly transfer the marshmallow mixture into the prepared pan, smoothing the top with a spatula. Generously dust the surface with the remaining sugar-starch mixture to prevent sticking.
- Let the marshmallows set at room temperature for at least 3 hours, or overnight for best texture.
- Turn the set marshmallow slab onto a surface dusted with the sugar-starch mix. Use a sharp knife dusted with the same mixture, or unflavored dental floss, to cut into squares or desired shapes. Dust all cut edges to prevent stickiness.
- Store finished marshmallows in an airtight container at room temperature in a cool, dry place for up to one week.
Expert Tips
- If the original recipe yields a stickier batch, slightly reduce the water and increase the sugar-starch dusting — this will help the marshmallows hold their shape and reduce tackiness.
- For different flavors, fold in a small amount of extract after whipping: peppermint, almond, or extra vanilla work well. Avoid adding too much liquid flavoring, which can affect setting.
- To achieve uniform squares or mini marshmallows, measure guides on the surface with a ruler before cutting, then use dental floss for smooth cuts.
- Make sure your syrup reaches 240°F; undercooking results in soft, overly sticky marshmallows, while overheating can make them tough.
Storage and Uses
These marshmallows are versatile: use them to top hot chocolate, as a filling for s’mores with vegan graham crackers and chocolate, folded into rice krispie treats, placed atop casseroles, or enjoyed by themselves. Keep them in an airtight container at room temperature in a cool, dry place for up to one week. If you need longer storage, refrigerating can change texture, so best to consume within the week for optimal chew and softness.
Recipe FAQs
Some commercial brands offer vegan marshmallows made with plant-based gelling agents. If you prefer to know every ingredient, making them at home guarantees a fully plant-based product.
Yes. Properly made vegan marshmallows have a similar flavor and texture to traditional marshmallows, with a light, sweet, and slightly vanilla-forward profile.
Traditional marshmallows are usually made from sugar, corn syrup, water, and animal-based gelatin, along with flavorings and sometimes stabilizers. The vegan version swaps the animal gelatin for plant-based alternatives.
More Vegan Homemade Recipes
Try other homemade vegan staples such as vegan condensed milk, homemade vegan yogurt, or easy banana jam to complement your plant-based baking and desserts.
If you make this recipe, leave a rating and comment to share how it turned out. Enjoy baking and customizing your marshmallows!