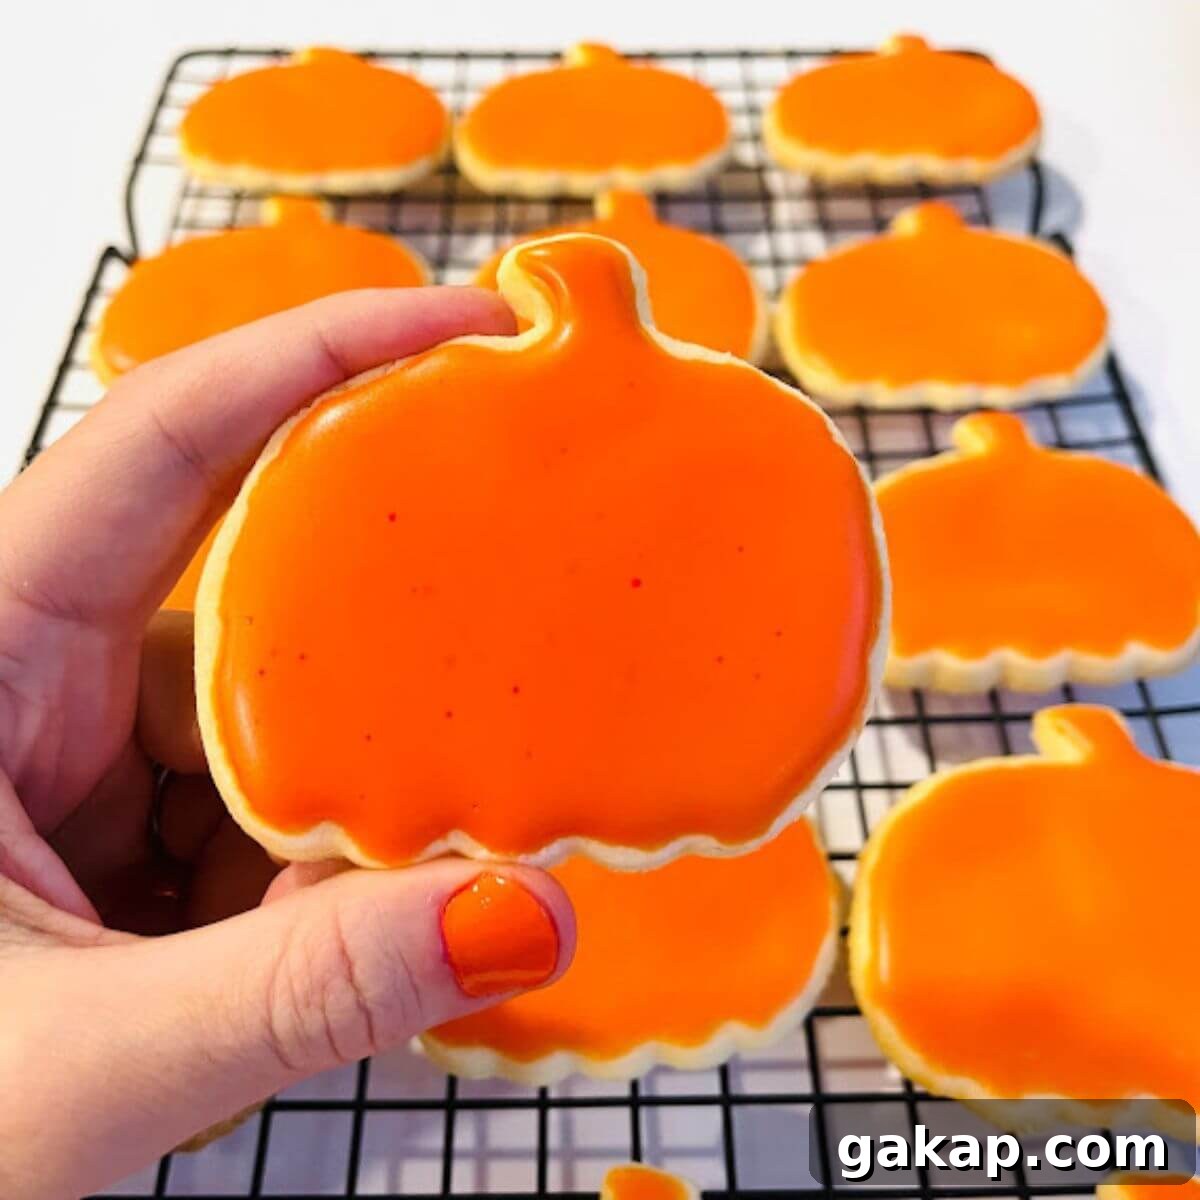
These gluten-free Halloween cookies are my favorite butter cookies, shaped like little pumpkins. They’re perfectly festive for Halloween and work beautifully for Thanksgiving as well.
This post may contain affiliate links. Please see my disclosure page for more information. Thanks!
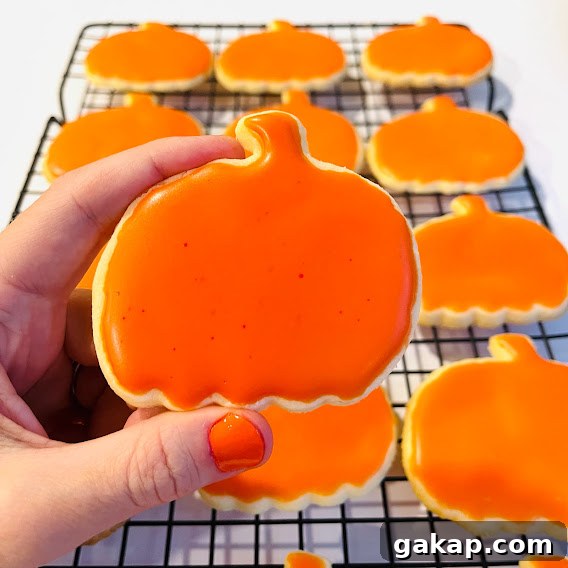
About This Halloween Cookie Recipe
Butter cookies are crisp, light, and irresistibly tasty. They’re similar to sugar cookies but creamier and not quite as sweet. Growing up, my aunt made butter cookies for most holidays, and they were one of my favorite treats until I was diagnosed with celiac disease in 2009.
After missing those cookies for years, I developed this gluten-free version using a reliable 1:1 gluten-free flour and a glossy icing. I shaped them like pumpkins for Halloween, but the same dough works for heart-shaped cookies for Valentine’s Day or star-shaped cookies for New Year’s. The steps and ingredients are the same across variations.
Ingredients You Will Need
Gluten-free flour: I recommend a high-quality 1:1 gluten-free multi-purpose flour for the best texture and flavor.
Other ingredients:
Unsalted butter (softened)
White granulated sugar
Salt
Egg yolks
Vanilla extract
Confectioners’ sugar (for the icing)
Light corn syrup (for the icing)
Room-temperature water (for icing)
Gluten-free food coloring gel (optional)
Gluten-Free Flour Blend For These Halloween Cookies
A reliable 1:1 gluten-free flour blend produces the best results for these cookies. Over time I have found that some blends work better than others for a tender, buttery texture. If you use a different gluten-free flour, expect slightly different results—some blends absorb more moisture or result in a denser cookie. If possible, choose a multi-purpose blend that is labeled 1:1 for baking.
Tools & Tips For Making These Cookies
Rolling pin: Essential for rolling the dough evenly to the correct thickness.
Baking sheets: Use sturdy baking sheets and rotate them halfway through baking for even coloring.
Silicone baking mats or parchment: Silicone mats are reusable and give even baking; parchment paper also works well.
Bench scraper: Helpful for transferring cut cookies to the baking sheet without deforming them.
Cookie cutters: Pumpkin-shaped cutters are festive, but any shape will work.
Decorating tools: Piping bags, small tips, and gluten-free sprinkles make decorating easier and more precise.
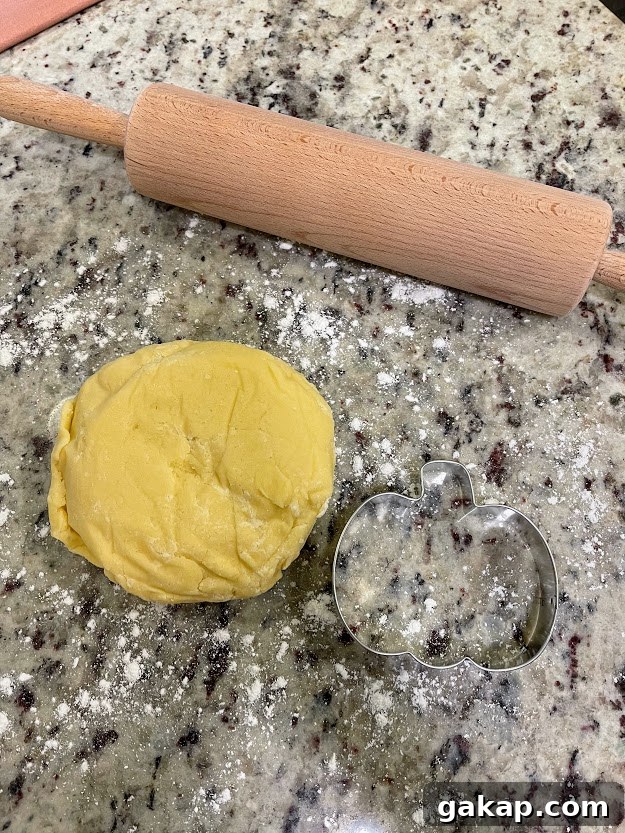
How To Make Gluten-Free Halloween Cookies
1. Make the dough. In a stand mixer fitted with the paddle attachment (or using a hand mixer), beat the softened butter, sugar, salt, egg yolks, and vanilla on medium-low for about three minutes until creamy and light yellow.
2. Add the flour. Gradually add the gluten-free flour with a wooden spoon. The dough may look crumbly at first; that’s normal. Once combined as much as possible with the spoon, turn the dough onto a lightly floured surface and knead with your hands until it comes together and is smooth.
3. Chill the dough. Shape the dough into a ball, divide into quarters, flatten each into a disk, wrap in plastic or reusable wrap, and refrigerate for one hour to firm up.
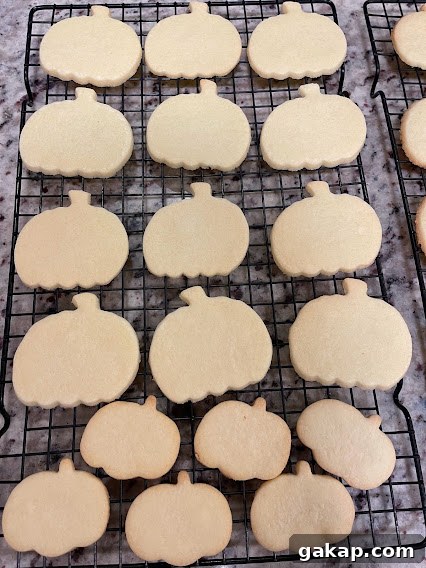
4. Roll and cut. Remove the dough and let it rest 5–7 minutes at room temperature so it’s pliable. Preheat the oven to 325°F (163°C). Lightly flour your work surface and roll the dough to about 1/4-inch thickness. Cut into pumpkin shapes or other favorite shapes and transfer to ungreased baking sheets or silicone-lined sheets.
5. Bake. Bake 10–12 minutes, rotating pans halfway through. Watch closely after ten minutes—cookies should be just lightly browned around the edges. Remove when the edges show light color to avoid overbrowning.
6. Cool. The cookies will be delicate when hot. Let them rest on the baking sheet for 10 minutes, then transfer to a wire rack and cool completely. For the best texture and easier decorating, allow them to cool overnight.
How To Frost These Halloween Cookies
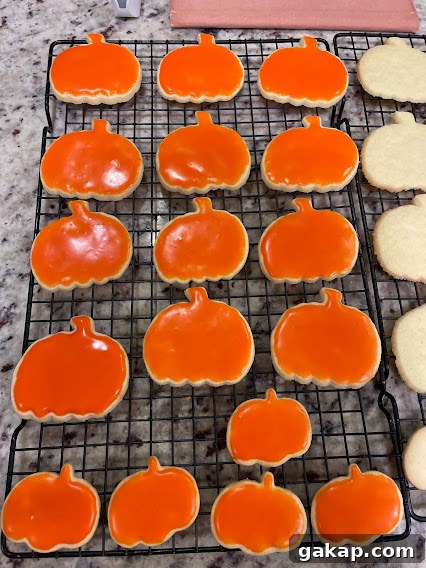
You can enjoy these cookies plain, but a glossy icing makes them extra special. For a simple glaze, whisk together confectioners’ sugar, vanilla, a teaspoon of light corn syrup, and 2 tablespoons of room-temperature water until thick and smooth. If the icing is too thick, add up to another 1/2 tablespoon of water; if too thin, add more confectioners’ sugar a tablespoon at a time. Divide the icing into bowls and tint with gluten-free food coloring to make orange or other colors, then pipe or spread onto cooled cookies. Allow the icing to set before stacking or storing.
How To Store These Cookies
After decorating, store cookies in a sealed container at room temperature for 3–5 days. You can freeze undecorated cookies for up to one month, though texture may change slightly after thawing. In my experience, these butter cookies rarely last long enough to freeze!
More Fall Gluten-Free Baking Recipes
If you enjoy fall baking, try other gluten-free favorites such as banana bread with walnuts, pumpkin scones with maple frosting, or a classic gluten-free apple pie. For an ambitious treat, homemade gluten-free croissants produce flaky, buttery layers that are worth the effort.
Here’s how to make these gluten-free Halloween cookies!
If you try this recipe, please leave a comment — I’d love to hear how yours turned out!
Gluten-Free Halloween Cookie Recipe
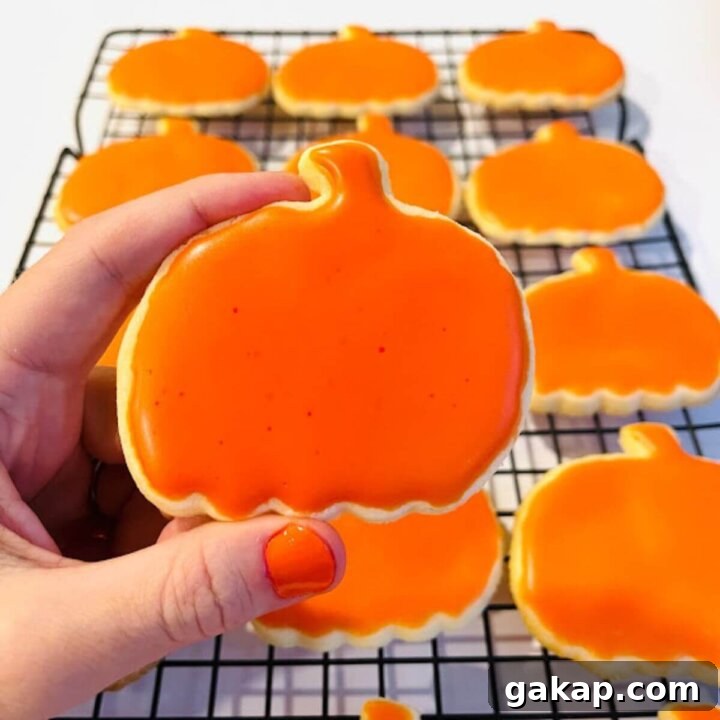
Gluten-Free Halloween Cookies
2 dozen cookies
1 hour 20 minutes
12 minutes
12 hours
13 hours 32 minutes
Butter cookies so good you won’t stop eating them!
Ingredients
For the Cookies
- ¾ cup unsalted butter, softened to room temperature
- ⅔ cup white sugar
- ¼ teaspoon salt
- 2 egg yolks
- 1 teaspoon vanilla extract
- 2 cups gluten-free flour, plus more for rolling
- For the Icing
- 1½ cups (180g) confectioners’ sugar
- ½ teaspoon pure vanilla extract
- 1 teaspoon light corn syrup
- 2–2.5 tablespoons (30–38 ml) room-temperature water
- ⅛ teaspoon salt
- Gluten-free food coloring, optional
Instructions
In a stand mixer with the paddle attachment (or using a hand mixer), beat the butter, sugar, salt, egg yolks, and vanilla for about three minutes on medium-low until creamy and pale yellow. Slowly incorporate the flour with a wooden spoon; the dough may be crumbly at first. Turn the dough onto a lightly floured surface and knead until smooth and fully combined. Shape into a ball, divide into quarters, flatten into disks, wrap, and refrigerate for one hour.
When ready, let the dough sit 5–7 minutes at room temperature so it rolls without cracking. Preheat the oven to 325°F (163°C). Lightly flour your work surface and roll dough to about ¼-inch thickness. Cut shapes and place on ungreased or silicone-lined baking sheets. Reroll scraps and continue cutting until all dough is used.
Bake 10–12 minutes, rotating pans halfway through. Watch closely after ten minutes—cookies should be lightly browned at the edges. Remove from oven and let sit on the baking sheet for 10 minutes, then transfer to a wire rack to cool completely. For best results and easier decorating, cool overnight.
To make the icing, whisk together confectioners’ sugar, vanilla, corn syrup, and 2 tablespoons of water until a thick glaze forms. If too thick, add up to ½ tablespoon more water; if too thin, add more confectioners’ sugar a tablespoon at a time. Divide into bowls to tint with food coloring and pipe or spread onto cooled cookies. Let icing set before storing.
Notes
Gluten-free flour: This recipe performs best with a reliable 1:1 gluten-free flour blend. Results may vary with other flours.
Shapes: Pumpkins are festive, but any cookie cutters work well.
Storage: Store decorated cookies in an airtight container at room temperature for 3–5 days. You may freeze undecorated cookies for up to one month, though texture can change after thawing.
Nutrition Information
Yield 12
Serving Size 1
Amount Per Serving
Calories 332Total Fat 18gSaturated Fat 9gTrans Fat 0gUnsaturated Fat 7gCholesterol 61mgSodium 157mgCarbohydrates 40gFiber 1gSugar 14gProtein 3g
Nutrition information is provided as a courtesy and may vary depending on ingredients and portion sizes. Use your preferred nutrition calculator for exact values.
Do you like cookies?
What’s your favorite kind?
Tell me in the comments below!